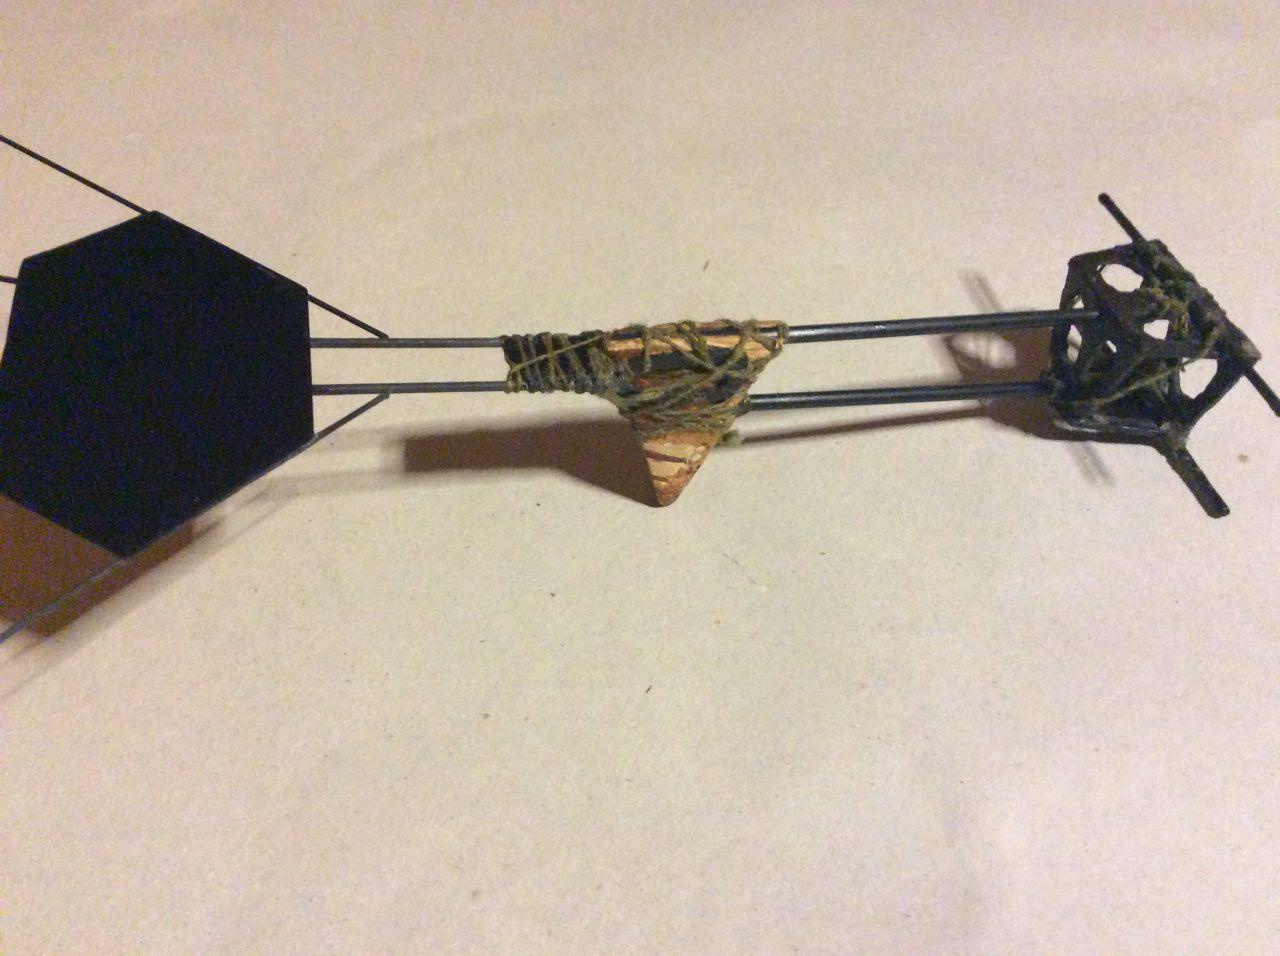
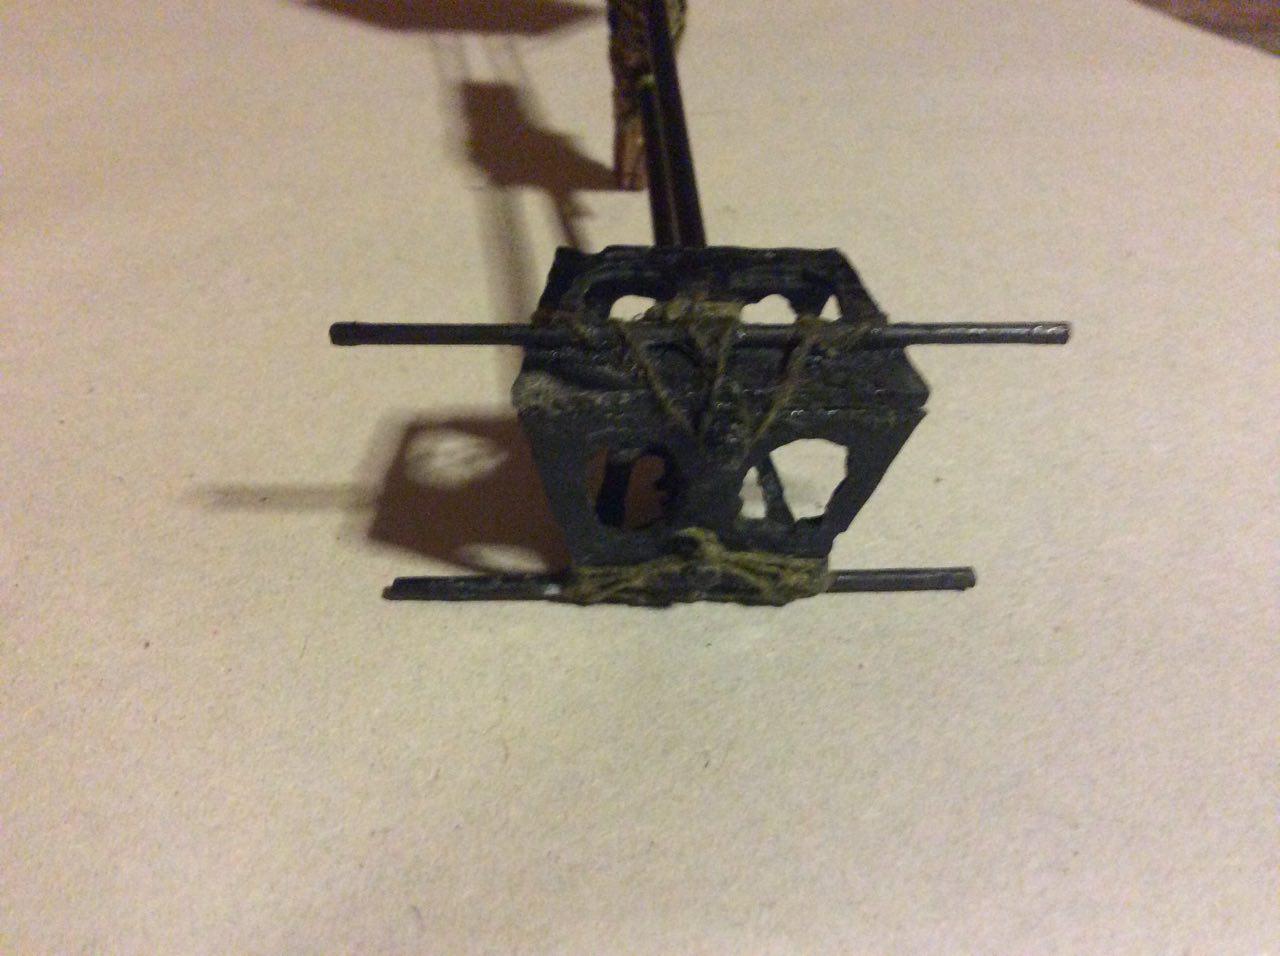
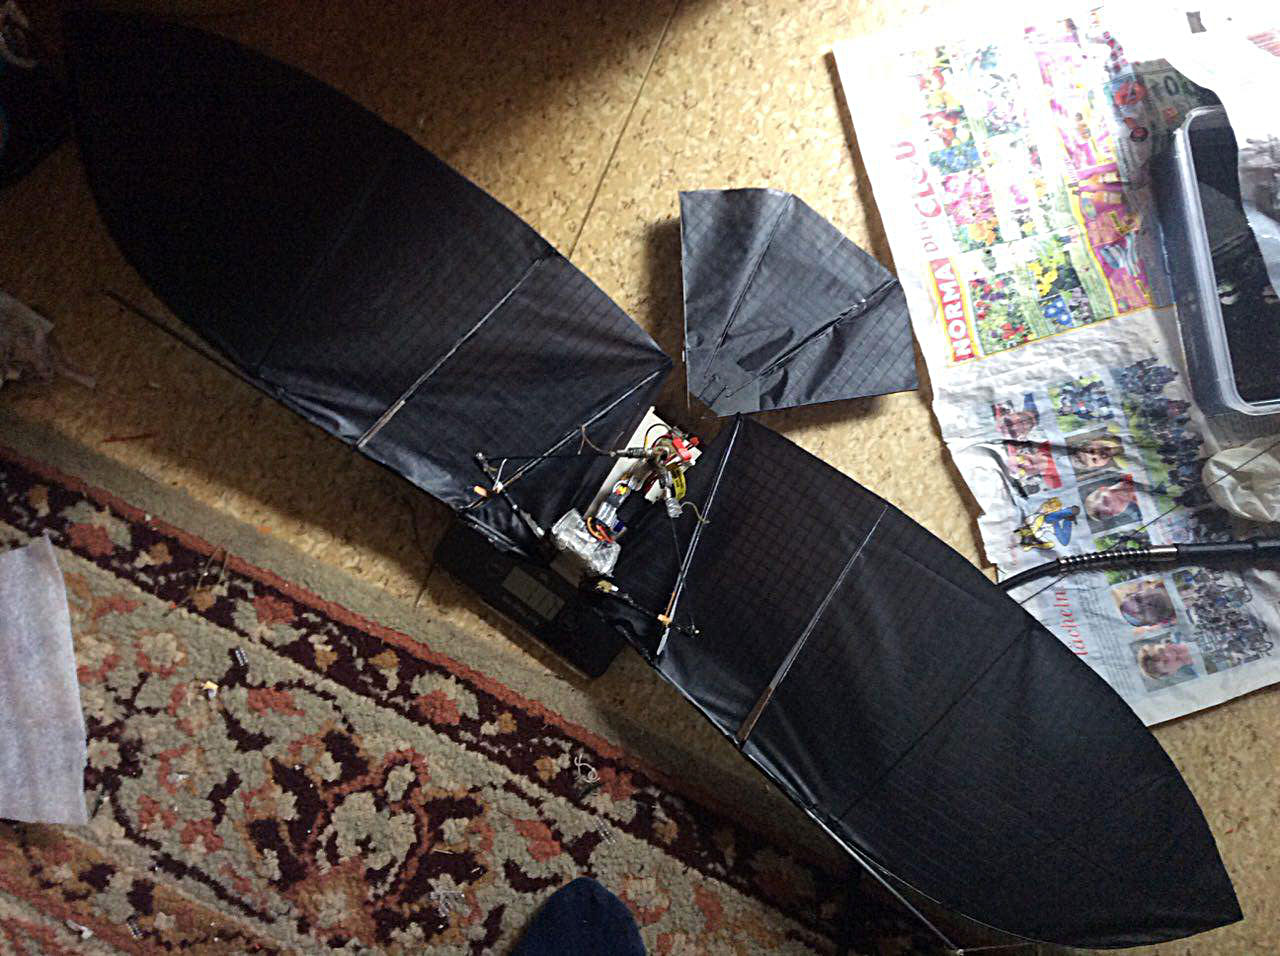
June 17, 2018
Making-Of DIY Servo-Driven Ornithopter
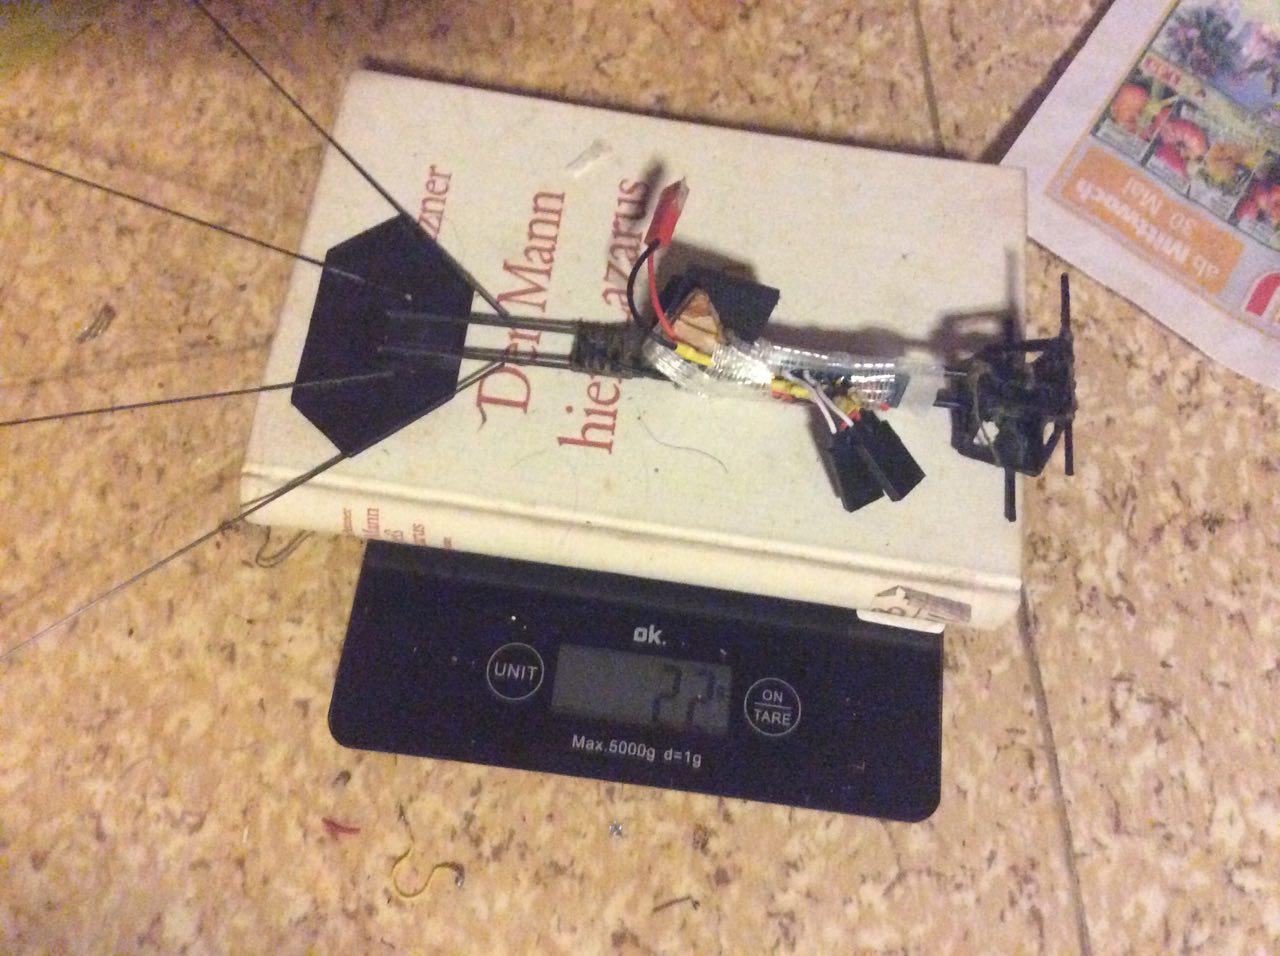
After watching several ornithopter videos and learning that using adequate servos it is possible to omit the construction of a gearbox I finally decided to once and for all make my own model.
The Delta Sail-Shape
Observing ravens soaring in strong wind, I noticed that the pinion feathers were usually collapsed, stabilizing and protecting the wing (because they wouldn’t need the extra lift from full spread pinions), hence I supposed that a delta shape was adequate for simplifying the building of a wing and probably improving the weight/stability ratio.
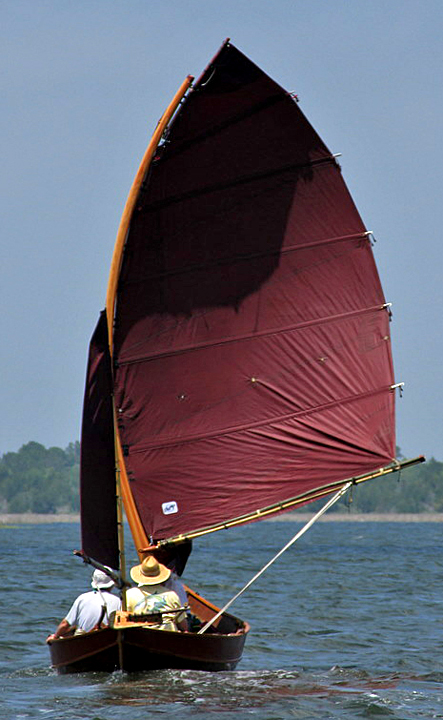
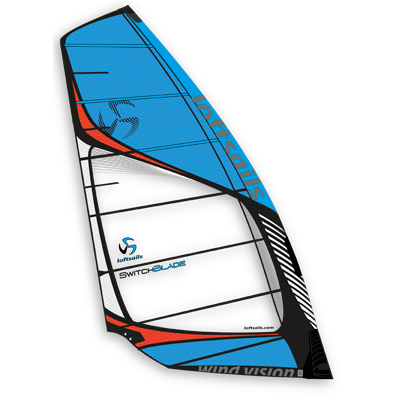
Therefore I googled images of several sail shapes:
Finally I came up with this layout:
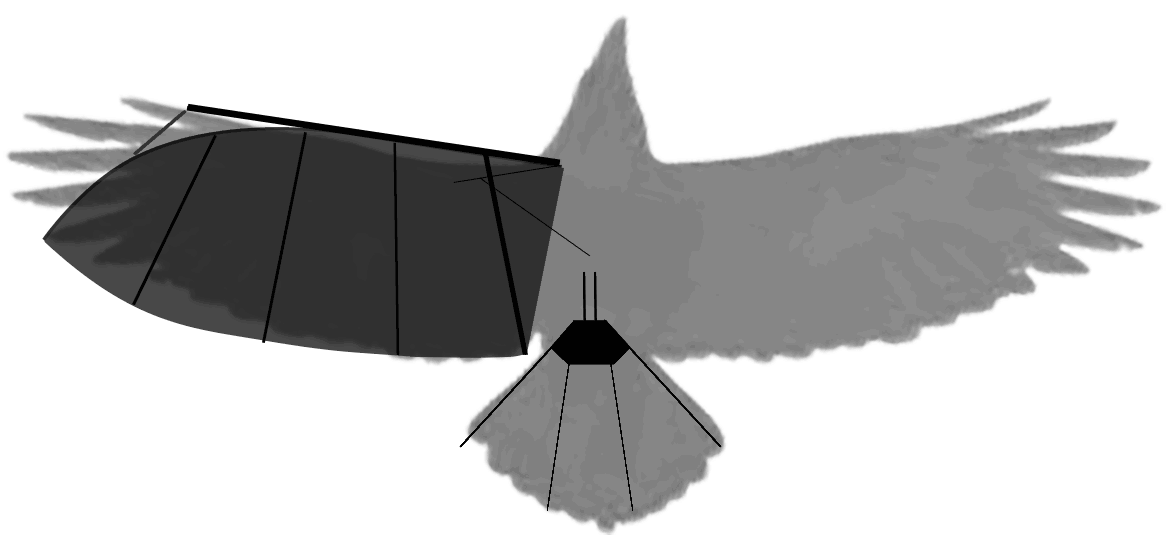
Usually, ornithopter wings use slightly different frameworks, in order to achieve aerodynamic effects like washing and airfoiling. Anyway, by using a rope reaching from the main tube it was well possible to provide a larger and yet still stabilized enough wing area using only very thin carbon fiber rods (all 1mm, except for the root chord (1.6mm) and main tube (5mm)).
But I must warn you, creating a smooth and enjoyable delta shape is a tedious work. In the end, every tiny error (or waste of glue adds weight and thus) reduces the effectivity of the whole wing. I was just about to regret not having chosen a rectangular shape, but with a lot of adherence and commitment it is possible.
Invasion of the Root Chord Shifters
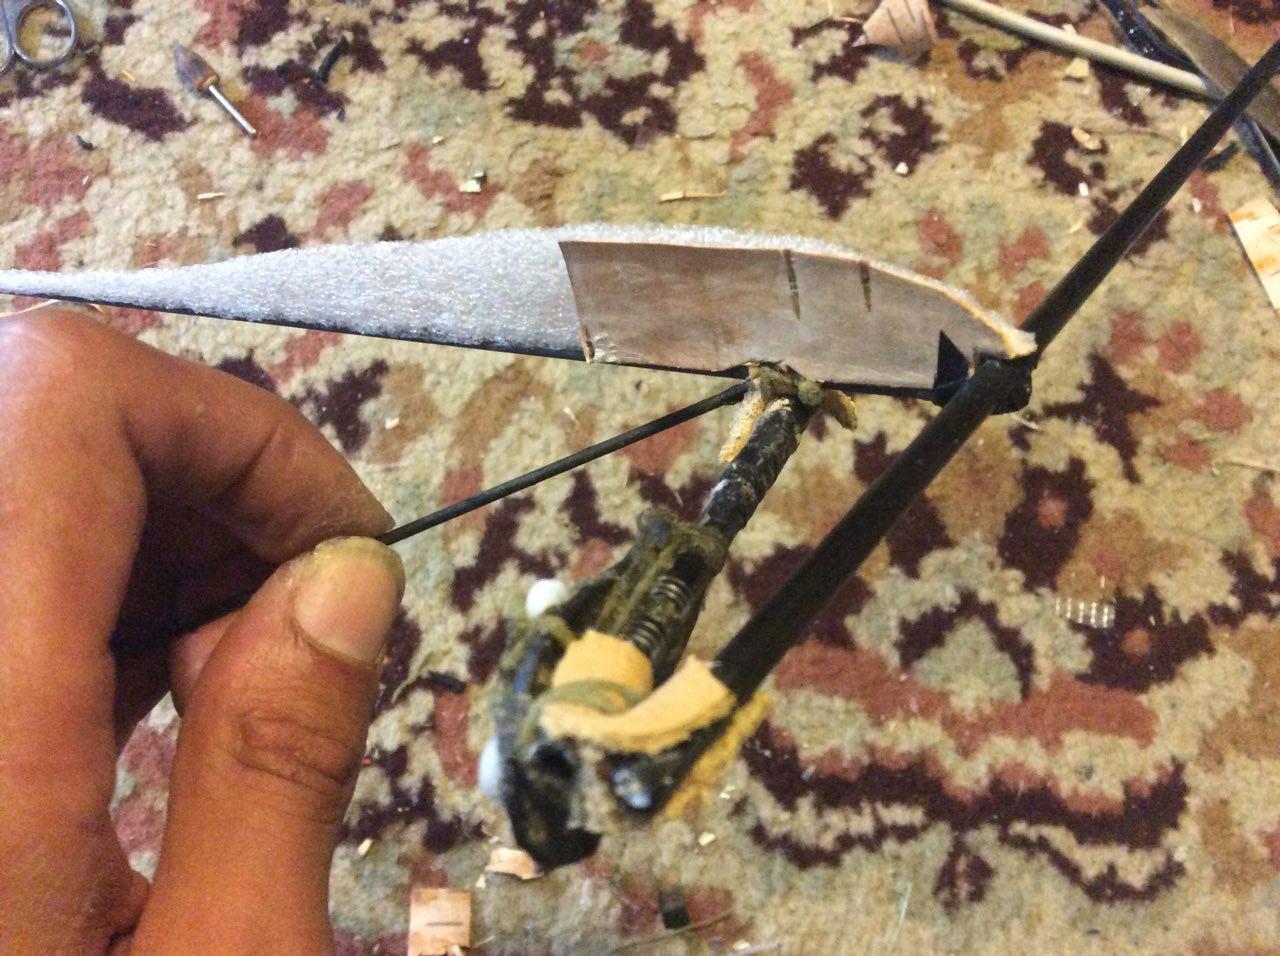
This delta wing shape also comes in handy where I didn’t suspect it: through translating vortexes behind the wing (by the wing tips being more back) this framework allows a higher stalling tolerancy, which allowed hanging the (parted) wings only on one point, making root chord shifting available, this is normally only used by few birds – pelicans, colibris in extreme – or slow flying ravens: by tilting the angle of the root chord of the wing it is better able to adapt to the speed of the bird, while still reducing the air resistance on upstroke (and eventually achieving more forward drag). I attached another string to limit this effect on the down stroke (see last image in construction details). Anyway it was very difficult to tune this mechanism, because a little bit too much (or asymetrical) root chord freedom would result in loosing speed (stopping the bird) and eventual stalling.
Using Servos for Flapping
As been denoted in the beginning, deciding for the use of a servo powered flight allows us to omit the typical gearbox and extra tail control (which saves weight and work), because by the independent and fine grained control of each wings position and amplitude we can adapt a flight style that makes other mechanisms more or less obsolete. However there are many limitations using this approach. First, a servo motor is by far and in many ways mechanically not optimized for flapping flight, plus by the changing of directions we also loose a lot of energy, when the motor has to turn in the other direction (while other flapping mechanisms typically make use of a continous movement and hence offer a better translation of mechanic energy). Either way, this last point can and must be compensated by (making the model very light and) mounting the servos in an angle, which provides a bit more forward-backward motion of the wings (playing well with aforementioned root chord shift) than only up and down. The second important step was to add a 2mm glass fiber rod serving as spring, which stores energy from the upstroke and gives it back on downstroke. This way the forces when the servos are changing directions are almost continous.
Construction Details
adapted source code by Steve Morris↩︎
see picture 27 on this site↩︎
